深入理解 React 路由:构建多页面应用指南
在构建任何重要的 React 应用程序时,将其分解为多个页面是至关重要的。 要实现这一点,就需要使用 React 路由功能。
对于初学者来说,这可能是一个复杂的主题。 然而,本教程将帮助您快速掌握 React 路由所需的所有基础知识。 在本教程中,我们将创建一个实际的、使用路由的应用程序,让您更好地理解其工作原理。
什么是 React 路由?

React 路由是一种客户端路由的实现方式。 客户端路由是服务器端路由的一种替代方法。 在传统的服务器端路由中,每次您在不同页面之间导航时,浏览器都会向 Web 服务器发送一个 GET 请求。 此请求的响应可能需要几秒钟的时间。
对于需要在多个页面之间频繁切换的 Web 应用程序来说,这种等待时间会严重影响用户体验。 而客户端路由则提供了一种更高效的解决方案。 应用程序不再依赖服务器提供完整的 HTML,而是使用 JavaScript 动态生成不同页面的 HTML 内容。
您只需提供一个 `index.html` 文件作为应用程序的入口点。 然后,该入口点会加载您的 JavaScript 代码。 JavaScript 代码负责操作 DOM、管理路由和实现应用程序功能,从而呈现不同的页面。
由于服务器只提供一个 `index.html` 页面,因此这种应用程序被称为单页面应用程序 (SPA)。
客户端路由的优势
- 它能带来更流畅的用户体验,因为页面切换速度更快,应用程序的响应速度也更高。 与服务器端路由相比,每次导航都避免了网络请求延迟。
- 它支持构建离线应用程序,因为运行应用程序所需的所有代码都可以在本地缓存。 这提高了应用程序的可用性,并允许您提供离线功能。
- 由于大多数资源只发送一次并且可以在本地缓存,应用程序的网络请求会显著减少,从而节省数据。
- 它还能减轻服务器的负担,因为服务器只需要渲染应用程序一次。 这与服务器端渲染形成对比,后者需要服务器不断地渲染应用程序。
接下来,我们将探讨如何在 React 中实现路由。
如何实现 React 路由
在本教程中,我们将构建一个简单的笔记应用程序作为示例。 该应用程序将由多个页面组成。 我们将使用 React Router DOM 来实现客户端路由,以便用户可以在不同页面之间轻松导航。 我们将重点介绍路由部分,而不是构建应用程序的全部功能。
先决条件

要学习本教程,您需要对 HTML、JavaScript 和 React 有一定的了解。 您还需要安装 Node.js 和 NPM(Node 包管理器)。 您可以从 官方网站 下载并安装 Node.js,其中也包含了 NPM。 或者,您可以参考相关的 YouTube 视频教程。
我们将构建什么?
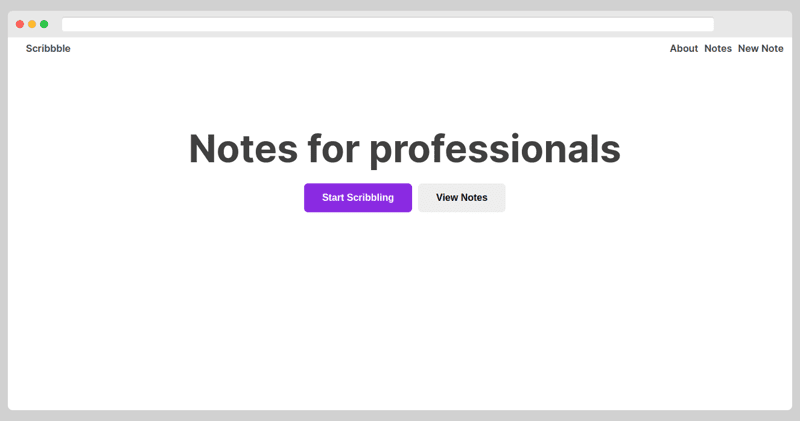
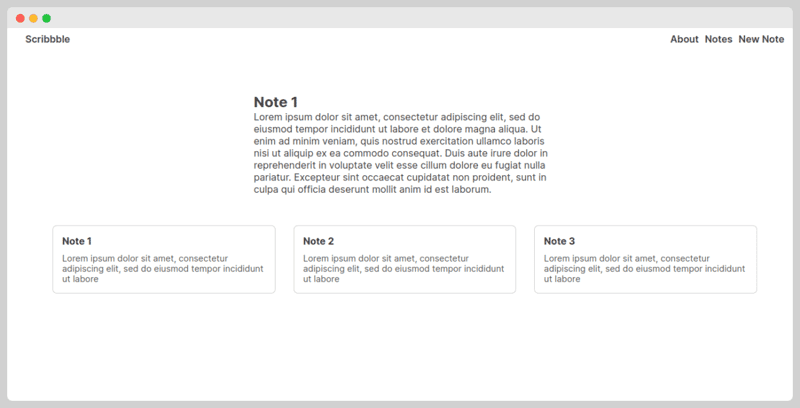
该应用程序将包含以下几个页面,并且您可以使用 React 路由轻松地在这些页面之间进行切换。 以下是页面设计布局:
主页将会在路径 “/” 下渲染。
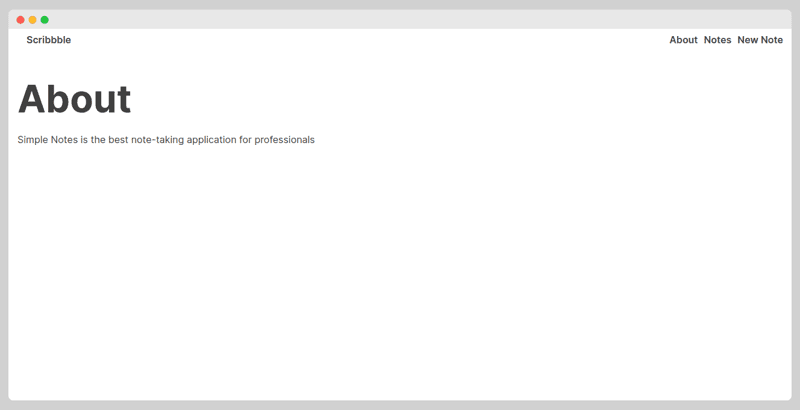
关于页面将在路径 “/about” 下渲染。
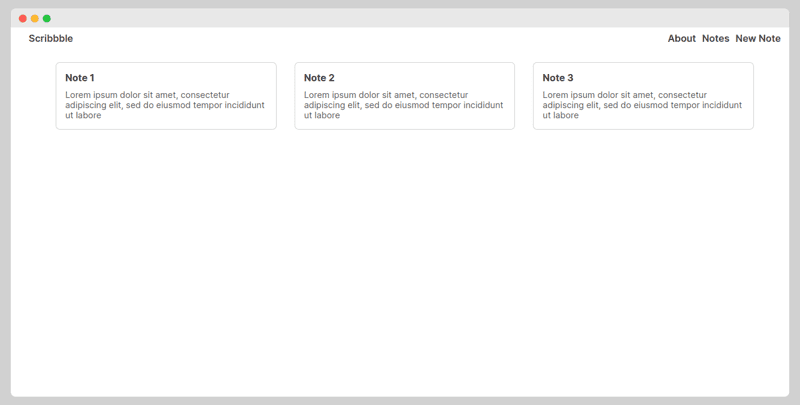
笔记页面将在路径 “/notes” 下渲染。
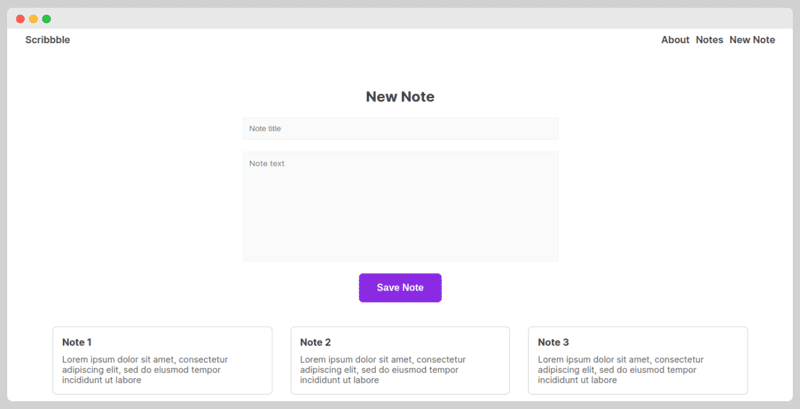
新增笔记页面将在路径 “/notes/new” 下渲染。
在笔记页面上,您可以查看每条笔记的完整内容。 该页面将渲染在路径 “/notes/:id” 下,其中 `:id` 是一个整数,表示要阅读的笔记的 ID。
开始入门
首先,创建一个新的 React 项目。 我们将使用 Vite,所以初始化新项目的命令如下:
npm create vite@latest scribbble --template react
这里,我们指定 “scribbble” 作为项目名称,并选择 React 作为模板。 接下来,我们将使用以下命令在 VS Code 中打开项目:
cd scribbble
code .
在 VS Code 打开后,我们返回终端窗口并安装 `react-router-dom` 包。 此包使在应用程序中实现 React 路由变得更加容易。
npm install react-router-dom
我们将创建一个文件来存储笔记数据。 创建 `src/notes.js` 文件并添加以下代码:
const notes = [
  {
    id: 1,
    title: "Note 1",
    body: "Lorem ipsum dolor sit amet, consectetur adipiscing elit, sed do eiusmod tempor incididunt ut labore et dolore magna aliqua. Ut enim ad minim veniam, quis nostrud exercitation ullamco laboris nisi ut aliquip ex ea commodo consequat. Duis aute irure dolor in reprehenderit in voluptate velit esse cillum dolore eu fugiat nulla pariatur. Excepteur sint occaecat cupidatat non proident, sunt in culpa qui officia deserunt mollit anim id est laborum.",
  },
  {
    id: 2,
    title: "Note 2",
    body: "Lorem ipsum dolor sit amet, consectetur adipiscing elit, sed do eiusmod tempor incididunt ut labore et dolore magna aliqua. Ut enim ad minim veniam, quis nostrud exercitation ullamco laboris nisi ut aliquip ex ea commodo consequat. Duis aute irure dolor in reprehenderit in voluptate velit esse cillum dolore eu fugiat nulla pariatur. Excepteur sint occaecat cupidatat non proident, sunt in culpa qui officia deserunt mollit anim id est laborum.",
  },
  {
    id: 3,
    title: "Note 3",
    body: "Lorem ipsum dolor sit amet, consectetur adipiscing elit, sed do eiusmod tempor incididunt ut labore et dolore magna aliqua. Ut enim ad minim veniam, quis nostrud exercitation ullamco laboris nisi ut aliquip ex ea commodo consequat. Duis aute irure dolor in reprehenderit in voluptate velit esse cillum dolore eu fugiat nulla pariatur. Excepteur sint occaecat cupidatat non proident, sunt in culpa qui officia deserunt mollit anim id est laborum.",
  },
];

export default notes;
接下来,删除 `src/App.css` 文件。 我们在这个项目中不需要它。 同时,请确保从 `App.jsx` 文件中删除 `App.css` 的导入。
然后,将 `index.css` 文件中的所有内容替换为:
:root{font-family:Inter,system-ui,Avenir,Helvetica,Arial,sans-serif;font-weight:400;color:#404040}*{margin:0;padding:0}.nav-container{display:flex;justify-content:space-between;padding:15px 30px}.home-buttons,.nav{display:flex;gap:10px}a{text-decoration:none;color:inherit;font-weight:600}h1{font-size:63px;margin:20px 0}input,textarea{border:1px solid #f1f1f1;background-color:#fafafa;outline:0;padding:10px;width:100%}textarea{resize:none;font-family:inherit}.container{padding:15px}.primary{background-color:#8a2be2;color:#fff}.secondary{background-color:#eee}.button{padding:15px 30px;font-size:16px;border:none;font-weight:700;border-radius:7px;cursor:pointer}.home-container{height:300px;display:flex;flex-direction:column;align-items:center;justify-content:center}.new-note-container{padding:20px}.new-note-form{display:flex;flex-direction:column;align-items:center;width:500px;gap:20px;margin:auto;border-radius:7px;padding:20px 30px}.notes-list{display:grid;grid-template-columns:1fr 1fr 1fr;gap:30px;padding:0 60px}.note{border:1px solid #d3d3d3;padding:15px;border-radius:7px}.note h2{font-size:1rem;margin-bottom:10px}.note p{color:#585858;font-size:.9rem;cursor:pointer}.note-container{display:flex;align-items:center;justify-content:center;padding:50px}.note-content{width:500px}
接下来,为我们要创建的页面创建以下文件:
- `src/pages/Home.jsx`
- `src/pages/About.jsx`
- `src/pages/Note.jsx`
- `src/pages/NewNote.jsx`
- `src/pages/Notes.jsx`
然后,为导航栏组件创建一个文件,文件路径为 `src/components/NavBar.jsx`。
设置 React 路由
现在应用程序的基本结构已经搭建完成,我们可以开始在应用程序中设置路由了。
打开 `App.jsx` 文件并删除其中的所有内容。 然后,将以下导入添加到文件顶部:
import { BrowserRouter, Routes, Route } from "react-router-dom";
import { NavBar } from "./components/NavBar";
import { Home } from "./pages/Home";
import { About } from "./pages/About";
import { Notes } from "./pages/Notes";
import { Note } from "./pages/Note";
import { NewNote } from "./pages/NewNote";
我们从 `react-router-dom` 导入 `BrowserRouter`、`Routes` 和 `Route` 组件,这些将用于设置路由。 然后,我们从 `components` 目录导入导航栏组件,并从 `pages` 目录导入各个页面组件。 虽然我们尚未实现这些页面组件,但很快就会完成。
接下来,我们将设置 `App` 组件:
export default App () {

}
然后在 `return` 语句中添加以下标记:
return (
    <BrowserRouter>

    </BrowserRouter>
)
这段代码渲染了 `BrowserRouter` 组件,它是 `react-router-dom` 包提供的组件,用于配置一个在浏览器中运行的路由器。 我们的整个应用程序将被包裹在这些标签内。
接下来,我们将添加导航栏组件并创建一个 `Routes` 组件:
return (
    <BrowserRouter>
      <NavBar />
      <div className="container">
        <Routes>

        </Routes>
      </div>
    </BrowserRouter>
  );
在 `BrowserRouter` 元素内部,我们添加了导航栏组件。 虽然我们稍后才会定义该组件,但它将在每个页面的顶部创建链接。 我们只创建一个导航栏,而不是为每个页面单独编写。
接下来,我们创建了一个容器元素,这对于路由本身不是必需的,但我们添加它来应用样式。
在容器元素内部,我们添加了 `Routes` 组件。 根据当前浏览器访问的路径,不同的页面将在此组件内渲染。 当路径发生变化时,`Routes` 组件内的所有内容都会重新渲染。
最后,我们添加各个页面的路由:
  return (
    <BrowserRouter>
      <NavBar />
      <div className="container">
        <Routes>
          <Route path="/" Component={Home} />
          <Route path="about" Component={About} />
          <Route path="notes" Component={Notes}>
            <Route path="new" Component={NewNote} />
            <Route path=":id" Component={Note} />
          </Route>
        </Routes>
      </div>
    </BrowserRouter>
  );
`Home` 组件将在路径为 “/” 时渲染,`About` 组件将在路径 “/about” 下渲染。 `Notes` 组件将在路径 “/notes” 下渲染。 我们还将 “/notes/new” 和 “/notes/:id” 定义为嵌套路由。
嵌套路由解释
路由可以包含子路由,这些子路由被称为嵌套路由。 嵌套路由的路径会与父路由连接形成完整的路径。 例如,”notes” 和 “new” 路由会合并为 “/notes/new”。
当用户访问父路由时,只会渲染父组件。 但是,当父组件和嵌套组件访问嵌套路由时,它们将一起渲染。
为了使这两个组件一起渲染,`Notes` 组件必须渲染一个 `Outlet` 组件,用于指定 `Note` 组件应该嵌入的位置。 您将在稍后创建页面时看到这一点。
动态路由
到目前为止,我们已经指定了要匹配的精确路由,例如 “/” 和 “about”。 然而,`react-router-dom` 允许我们定义动态路由。 动态路由包含可以匹配查询参数的部分。 当路径匹配时,查询参数会传递到页面。
例如,在 “posts” 父路由下,我们有一个包含动态部分的嵌套路由,该动态部分使用 `:id` 指定。 此路由接受任何文本代替 `:id`,并且该文本可以作为 ID 供 `Note` 组件使用。
构建导航栏
我们使用 `Link` 组件而不是普通的 `` 标签来进行导航。 因此,导航栏组件的代码如下:
import { Link } from "react-router-dom";

export function NavBar() {
  return (
    <div className="nav-container">
      <Link to="/">Scribbble</Link>
      <nav className="nav">
        <Link to="/about">About</Link>
        <Link to="/notes">Notes</Link>
        <Link to="/notes/new">New Note</Link>
      </nav>
    </div>
  );
}
将这段代码添加到 `src/components/NavBar.jsx` 文件中。
构建页面
接下来,我们将构建页面。 对于主页,将以下代码添加到 `src/pages/Home.jsx`。
import { useNavigate } from "react-router-dom";

export function Home() {
  const navigate = useNavigate();

  return (
    <div className="home-container">
      <h1>Notes for professionals</h1>
      <div className="home-buttons">
        <button
          onClick={() => {
            navigate("/notes/new");
          }}
          className="button primary"
        >
          Start Scribbling
        </button>
        <button
          onClick={() => {
            navigate("/notes");
          }}
          className="button secondary"
        >
          View Notes
        </button>
      </div>
    </div>
  );
}
在主页中,我们希望使用按钮进行导航。 因此,我们使用 `useNavigate` hook 以编程方式进行导航。 我们导入了 `useNavigate` hook,然后在 `Home` 组件中调用它。 调用 hook 的返回值是一个可用于导航的函数。
接下来,我们将定义关于页面。 将以下代码添加到 `src/pages/About.jsx` 文件中。
export function About() {
  return (
    <div>
      <h1>About</h1>
      <p>Simple Notes is the best note-taking application for professionals</p>
    </div>
  );
}
然后,我们将定义笔记页面。
在此组件中,我们还必须包含一个 `Outlet` 组件,用于渲染任何嵌套路由。 因此,我们的 `src/pages/Notes.jsx` 页面将如下所示:
import { Outlet, useNavigate } from "react-router-dom";
import notes from "../notes";

export function Notes() {
  const navigate = useNavigate();
  return (
    <div>
      <Outlet />
      <div className="notes-list">
        {notes.map((note) => {
          return (
            <div
              className="note"
              key={note.id}
              onClick={() => {
                navigate("/notes/" + note.id);
              }}
            >
              <h2>{note.title}</h2>
              <p>{note.body.slice(0, 100)}</p>
            </div>
          );
        })}
      </div>
    </div>
  );
}
接下来,我们定义单个笔记页面。
这将渲染单个笔记。 为了决定要渲染哪个笔记,`Notes` 组件将访问路由动态部分中指定的 ID。 为此,我们使用 `useParams` hook。 因此,`src/pages/Note.jsx` 文件中的代码如下:
import { useParams } from "react-router-dom";
import notes from "../notes";

export function Note() {
  const params = useParams();
  const note = notes.find((note) => note.id == params.id);
  return (
    <div className="note-container">
      <div className="note-content">
        <h2>{note.title}</h2>
        <p>{note.body}</p>
      </div>
    </div>
  );
}
最后,我们将使用以下代码在 `src/pages/NewNote.jsx` 中创建 `NewNote` 组件:
export function NewNote() {
  return (
    <div class="new-note-container">
      <form class="new-note-form">
        <h2>New Note</h2>
        <input type="text" name="title" placeholder="Note title" />
        <textarea rows="10" placeholder="Note text" />
        <button class="button primary">Save Note</button>
      </form>
    </div>
  );
}
至此,我们已经编写了应用程序的所有代码。 您可以使用 `npm run dev` 运行该应用程序。 尝试导航到不同的页面,体验客户端路由带来的速度。
客户端路由的缺点
虽然客户端路由有很多优势,但它也存在一些缺点。 这些缺点包括:
- 初始页面加载可能会比较慢,因为必须下载整个应用程序。 JavaScript 包可能会很大,导致加载时间较长。
- 由于 HTML 由 JavaScript 生成,因此页面 SEO 优化效果可能较差。
- 由于一切都依赖于 JavaScript,因此不支持或禁用 JavaScript 的浏览器无法正常运行应用程序。
总结
在本文中,我们通过构建一个小型项目介绍了 React 路由。 虽然我们没有涵盖所有细节,但本教程包含了您在大多数项目中会用到的概念。 有关 `react-router-dom` 的更多信息,请参考 官方文档。
接下来,您可以阅读关于 React 表单库的文章,以深入了解相关知识。